Night Owl Optics delivers enhanced vision solutions, blending affordability with cutting-edge technology. This manual guides users through optimal device operation and maintenance, ensuring a superior nocturnal viewing experience.
What is Night Vision Technology?
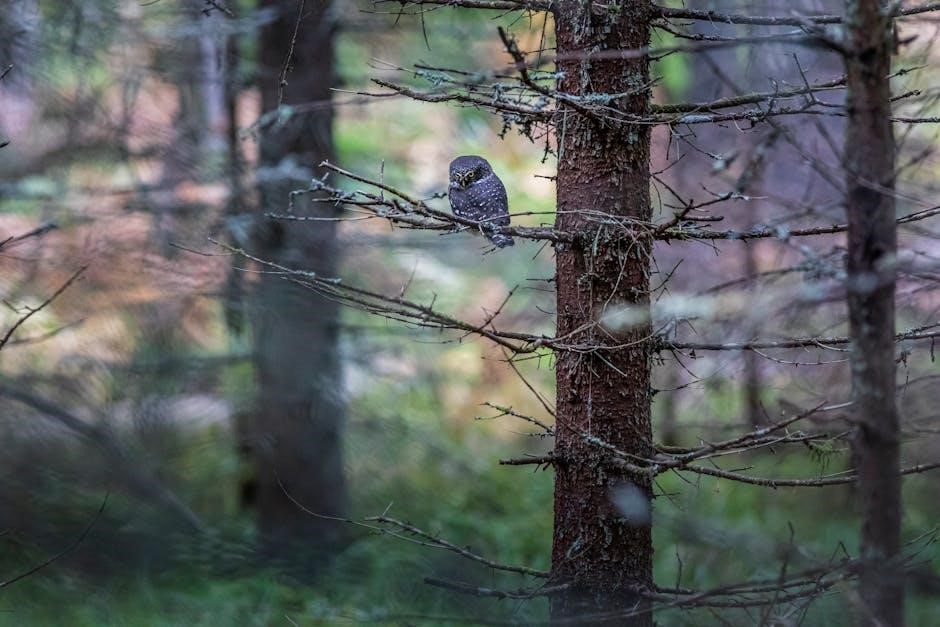
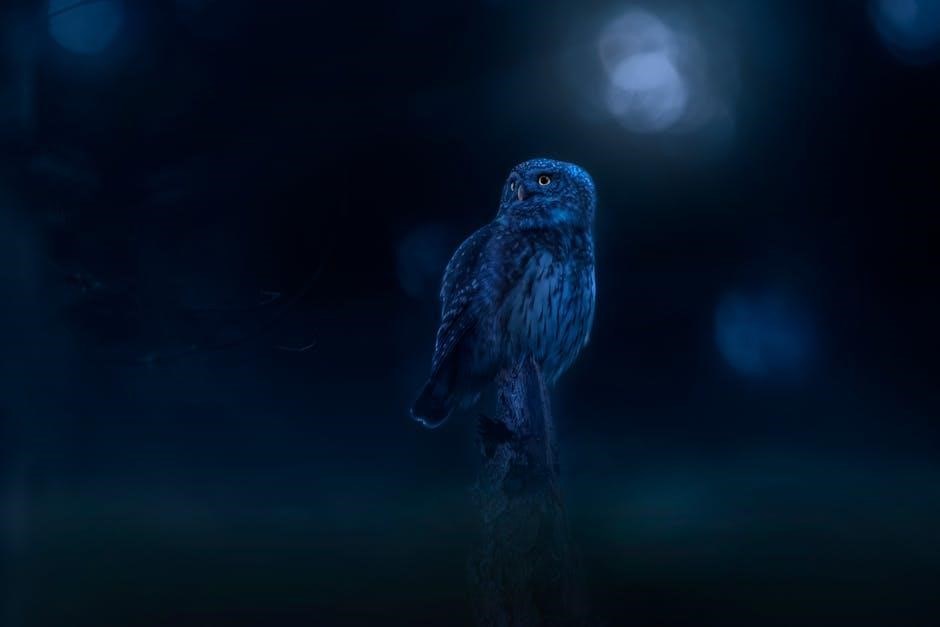
Night vision technology amplifies existing ambient light – starlight, moonlight, or even faint infrared – to provide visibility in low-light conditions. Unlike thermal imaging, which detects heat, night vision relies on intensifying available photons.
Image intensifier tubes are central, converting those photons into an electronic signal, amplifying it, and then reconstructing a visible image. Generations of this technology (Gen 1, 2, and 3) represent increasing levels of performance, clarity, and range, impacting the overall viewing experience.
Brief Overview of Night Owl Optics
Night Owl Optics has established itself as a prominent provider of night vision devices, catering to a diverse range of users – from outdoor enthusiasts and security personnel to hunters and wildlife observers.
The company focuses on delivering reliable, user-friendly technology at competitive price points. Night Owl’s product line encompasses monoculars, binoculars, and riflescopes, utilizing various generations of image intensification to suit different needs and budgets. They prioritize accessibility without compromising core functionality.
Understanding Night Vision Generations
Night vision technology evolves through generations, each offering improved performance; Understanding these – Gen 1, Gen 2, and Gen 3 – is crucial for selecting the optimal device.
Generation 1 Night Vision
Generation 1 night vision represents the entry point into amplified vision technology. These devices utilize an image intensifier tube to convert ambient light into a visible image. While affordable, Gen 1 typically exhibits lower resolution and some image distortion.
They require substantial ambient light – moonlight or starlight – for effective operation and often feature a noticeable “green hue.” Blooming, where bright light sources spread, is also common. Despite limitations, Gen 1 provides significant enhancement in low-light conditions for recreational use.
Generation 2 Night Vision
Generation 2 night vision offers a substantial improvement over Gen 1, featuring higher resolution and reduced image distortion. A microchannel plate (MCP) is incorporated, amplifying the image significantly and allowing for operation in darker conditions.
This results in a brighter, clearer image with better clarity and detail. Blooming is minimized, and the overall performance is enhanced. Gen 2 devices are a popular choice for professionals and serious hobbyists seeking reliable performance in varied low-light environments.
Generation 3 Night Vision ─ Current Standard
Generation 3 represents the current standard in night vision technology, offering the highest level of performance. Utilizing an ion-film coated image intensifier tube, Gen 3 provides exceptional clarity, resolution, and low-light capability.
These devices boast significantly improved signal-to-noise ratios, resulting in sharper images with minimal distortion, even in extremely dark conditions. Gen 3 is the preferred choice for military, law enforcement, and demanding professional applications requiring superior nocturnal vision.
Components of a Night Vision Device
Night vision devices comprise key elements: objective lens, image intensifier tube, and eyepiece. These components work synergistically to capture and amplify ambient light, providing visibility in darkness.
Objective Lens and Focusing
The objective lens gathers available light and focuses it onto the image intensifier tube. Larger objective lenses generally collect more light, resulting in a brighter image, particularly in low-light conditions. Focusing is crucial for achieving a clear, sharp image; rotate the focus ring until the target appears crisp.
Proper focusing depends on the distance to the observed object. Begin with a distant target and adjust accordingly. Remember that atmospheric conditions, like fog or rain, can affect focus quality. Regularly check and readjust focus for optimal viewing;
Image Intensifier Tube
The image intensifier tube is the heart of your Night Owl device, amplifying available ambient light to create a visible image. These tubes vary in generation, impacting performance and clarity. Higher generation tubes offer greater amplification and resolution.
The tube’s reticle, if equipped, provides an aiming point. Avoid prolonged direct exposure to bright light, as it can temporarily damage the tube. Proper handling and storage are essential to maintain its functionality and lifespan. Inspect regularly for any anomalies.
Eyepiece Adjustment and Diopter Settings
Proper eyepiece adjustment is crucial for a clear, focused image. Begin by adjusting the interpupillary distance – the width between the eyepieces – to match your eyes. Next, utilize the diopter setting to compensate for individual vision differences, ensuring sharpness without glasses.
Rotate the diopter ring until the reticle (if present) appears crisp. Fine-tune for optimal clarity. Regular adjustment may be needed depending on viewing conditions and user eyesight.
Operating Your Night Owl Optics Device
Successfully utilizing your Night Owl device requires understanding power controls, focusing techniques, and brightness adjustments for optimal performance in varied low-light environments.
Powering On and Off
To activate your Night Owl Optics device, locate the power button – typically positioned for easy access. A firm, yet gentle, press will initiate the system. Observe the power indicator light; a steady glow confirms activation.
Deactivation follows a similar process. Press and hold the power button until the indicator light extinguishes. Always ensure complete power-down when not in use to conserve battery life and prevent accidental activation. Refer to your specific model’s diagram for precise button location.
Focusing Techniques for Clear Images
Achieving optimal clarity with your Night Owl Optics device requires mastering focusing techniques. Begin by adjusting the objective lens until the viewed scene appears reasonably sharp.
Next, utilize the diopter adjustment – typically located near the eyepiece – to fine-tune the focus for your individual eyesight. Rotate the diopter until the image presents maximum sharpness and detail. Practice these adjustments in varying light conditions for consistent results.
Adjusting Brightness and Gain Control
Brightness and gain controls are crucial for optimizing image quality in diverse lighting scenarios. The brightness control adjusts the overall illumination of the image, while gain amplifies the signal from the image intensifier tube.
Start with a lower gain setting and gradually increase it until a clear image is achieved. Excessive gain can introduce noise; adjust brightness to compensate. Experiment to find the ideal balance for your specific viewing conditions.
Maintaining Your Night Vision Device
Regular maintenance ensures optimal performance and longevity. Proper cleaning, careful storage, and diligent battery management are essential for reliable night vision operation.
Cleaning and Storage
Maintaining cleanliness is crucial for optimal performance. Use a lens brush to remove dust and debris from the objective lens and eyepiece. For stubborn smudges, employ a lens cleaning solution specifically designed for coated optics, applying it with a microfiber cloth.
Proper storage prevents damage. Always store your Night Owl device in its protective case, in a cool, dry environment. Avoid exposure to direct sunlight, extreme temperatures, and moisture. Remove batteries for extended storage periods to prevent corrosion and potential damage to internal components.
Battery Replacement and Management
Powering your Night Owl device requires careful battery management. Always use the battery type specified in this manual. When replacing batteries, ensure correct polarity alignment. Avoid mixing old and new batteries, or different battery types.
For optimal performance, remove batteries during prolonged storage to prevent leakage and corrosion. Regularly check battery contacts for cleanliness. Dispose of used batteries responsibly, following local regulations. Low battery indicators signal the need for immediate replacement to maintain functionality.
Preventative Maintenance Checks
Regular inspections are crucial for maintaining your Night Owl device. Periodically check all lens surfaces for dust, debris, or smudges. Inspect the objective lens and eyepiece for scratches. Verify all battery contacts are clean and free of corrosion.
Ensure all knobs and adjustments operate smoothly. Confirm secure connections of any accessories. A proactive approach to maintenance extends the lifespan and optimal performance of your night vision equipment, guaranteeing reliable operation.
Troubleshooting Common Issues
Addressing problems like image distortion, low battery warnings, or a device failing to power on is vital for continued use and optimal performance.
Image Distortion and Blurring
Experiencing a distorted or blurry image can stem from several factors. First, ensure proper focusing by adjusting the objective lens until the viewed scene sharpens. Secondly, confirm the diopter setting on the eyepiece matches your individual vision; incorrect settings cause blurriness.
Additionally, check for obstructions on the objective lens – even minor smudges impact clarity. Low battery power can also contribute to image degradation, so replace or recharge batteries promptly. Finally, extreme temperature fluctuations might temporarily affect image quality.
Low Battery Indicators
Your Night Owl Optics device utilizes visual cues to signal diminishing battery life. Typically, a flashing low battery icon will appear on the screen or within the eyepiece view. Some models may also exhibit a noticeable decrease in image brightness as power wanes.
Promptly replace or recharge batteries upon observing these indicators to avoid interruption during use. Consistent performance relies on maintaining adequate power levels. Using high-quality batteries is recommended for extended operation and optimal device functionality.
Device Not Powering On
If your Night Owl Optics device fails to power on, first verify battery installation and polarity. Ensure batteries are fresh and correctly inserted according to the markings within the battery compartment. Next, check the power switch for proper engagement – a firm click indicates activation.
If the issue persists, inspect the battery contacts for corrosion or debris, cleaning them gently if necessary. Consult the troubleshooting section for model-specific reset procedures or contact customer support for assistance.

Advanced Features and Accessories
Night Owl Optics devices can be enhanced with IR illuminators for extended range, video recording for documentation, and versatile mounting options for varied applications.
Infrared (IR) Illuminators
Infrared (IR) illuminators are crucial accessories, especially in environments with limited ambient light. They project invisible infrared light, allowing the night vision device to amplify and display an image even in total darkness. Night Owl Optics offers various IR illuminator models, differing in range and power.
Selecting the appropriate IR illuminator depends on the intended viewing distance and surrounding conditions. Higher power illuminators provide greater range but may consume more battery power. Ensure compatibility with your specific Night Owl model for optimal performance and avoid potential damage.
Video Recording Capabilities
Night Owl Optics devices with video recording functionality allow capturing nocturnal events for documentation or personal use. These models typically feature a built-in recording function, often utilizing microSD cards for storage. Refer to your device’s specifications for supported card capacity and video resolution options.
Before recording, ensure sufficient storage space and battery life. Familiarize yourself with the recording start/stop controls and file management procedures. Regularly back up recorded footage to prevent data loss and preserve valuable observations.
Mounting Options and Compatibility
Night Owl Optics night vision devices offer versatile mounting options for hands-free operation. Many models are compatible with standard tripod adapters, helmet mounts, and weapon mounts, enhancing usability in diverse scenarios.
Ensure compatibility between your device and chosen mount. Securely attach the mount, verifying stability before use. Refer to the mount’s instructions for proper installation and safety precautions. Incorrect mounting can affect image quality and device performance, so double-check all connections.
Safety Precautions
Always avoid exposing the night vision device to extremely bright light sources. Handle with care, protecting from impacts and moisture for optimal performance and longevity.
Exposure to Bright Light
Sudden and prolonged exposure to intense light can cause temporary damage to the image intensifier tube within your Night Owl Optics device. This is known as “blooming” or “reticulation,” appearing as a bright flash or distortion.
To prevent this, avoid direct sunlight, vehicle headlights, or any powerful light source while operating the device. Utilize the provided protective covers when not in use, and gradually introduce the device to darker environments. Allow the device to stabilize after brief bright light exposure before resuming operation.
Proper Handling and Care
To ensure longevity and optimal performance, handle your Night Owl Optics device with care. Avoid dropping or subjecting it to strong impacts. Never attempt to disassemble the unit, as this will void the warranty and potentially damage sensitive components.
Wipe the exterior with a soft, dry cloth. Do not use abrasive cleaners or solvents. Store the device in a cool, dry place, away from extreme temperatures and humidity. Regular, gentle handling preserves functionality.
Environmental Considerations
Night Owl Optics devices are designed for reliable operation in various environments, but extreme conditions can impact performance. Avoid prolonged exposure to direct sunlight, heavy rain, or submersion in water.
Operating in foggy or dusty conditions may reduce visibility. Temperature fluctuations can affect image clarity; allow the device to acclimate to the ambient temperature before use. Responsible use minimizes environmental impact and maximizes device lifespan.
Warranty Information and Support
Night Owl Optics provides a limited warranty against manufacturing defects. For detailed coverage, visit our website or contact customer support for assistance and claim procedures.
Night Owl Optics Warranty Details
Night Owl Optics warranties cover defects in materials and workmanship for a specified period, typically one year from the purchase date. This warranty doesn’t cover misuse, abuse, accidental damage, or unauthorized modifications.
To initiate a warranty claim, retain your proof of purchase and contact Night Owl Optics customer support. Devices will be inspected, and if a defect is confirmed, repaired or replaced at our discretion. Shipping costs for warranty service are the responsibility of the customer.
Contacting Customer Support
Night Owl Optics provides dedicated customer support to assist with any questions or concerns regarding your night vision device. You can reach our support team via phone during business hours, or through our comprehensive online support portal.
Our website features a detailed FAQ section, troubleshooting guides, and downloadable resources. For personalized assistance, submit a support ticket or initiate a live chat session. We strive to respond to all inquiries promptly and efficiently, ensuring your satisfaction.
Legal Considerations and Regulations
Night vision device usage is subject to local and federal laws. Users must adhere to all regulations regarding ownership, transport, and application of this technology.
Local Laws Regarding Night Vision Use
Before operating your Night Owl Optics device, thoroughly research and understand all applicable local, state, and federal laws. Regulations vary significantly by location, impacting permissible usage scenarios. Some areas restrict night vision use for hunting, while others may prohibit it entirely in public spaces.
Always verify legality before deployment, considering potential restrictions related to privacy, trespassing, and wildlife conservation. Ignorance of the law offers no defense; responsible ownership demands proactive compliance with all governing regulations.
Export Restrictions
Night Owl Optics devices are subject to strict export controls enforced by the United States government. These regulations, administered by agencies like the Department of Commerce, limit the international sale and transfer of night vision technology.
Exporting or re-exporting these products to prohibited countries or individuals without proper licensing is illegal and carries severe penalties. Users are responsible for ensuring full compliance with all export control laws before attempting any international transactions involving Night Owl Optics equipment.